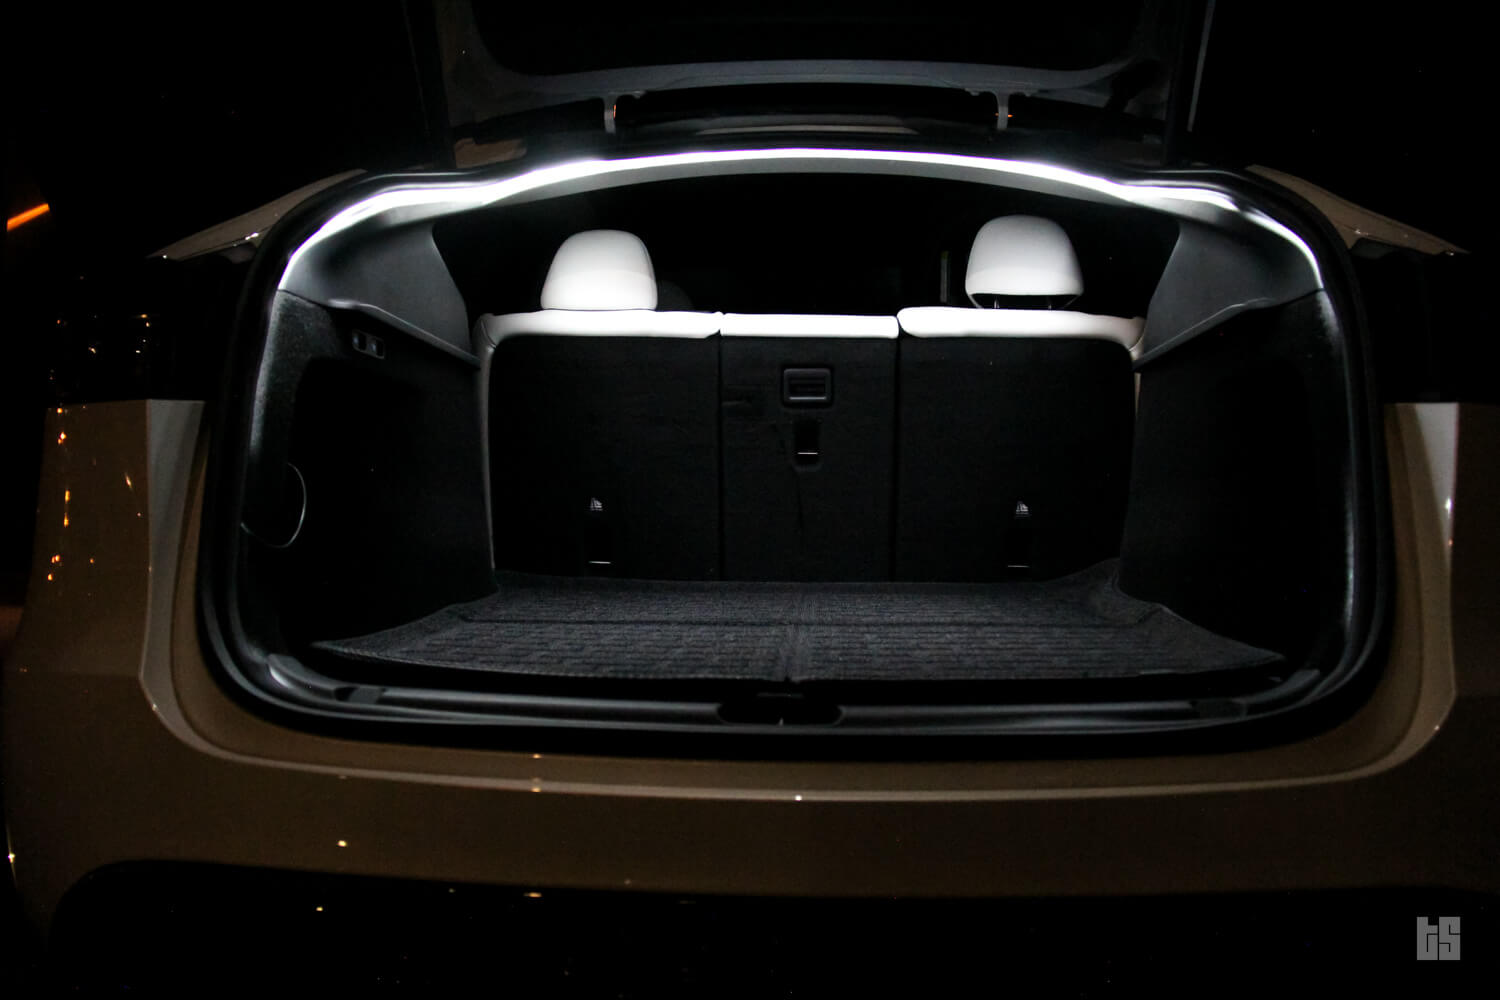
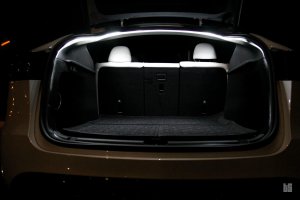
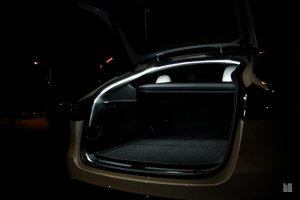
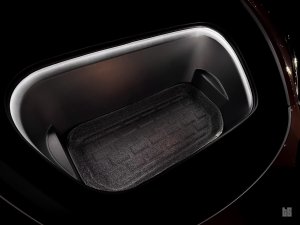
Tesloid Trunk and Frunk LED Light Strip will lighten and brighten up the cargo space of your Tesla Model 3 and Model Y. Find items easily at 10 times brighter light than OEM trunk light.
These ultra bright smooth lights add to the vehicle ambience while serving the practical need of lightening up the contents.
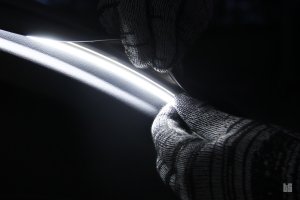
Easy Installation: Complete set with everything you need for an easy installation that can be carried out in less 20 mins. Simply tuck the LED strip underneath the rubber seal.
Light Source: LEDs
Power Source: Trunk - 12V Socket; Frunk - Y Harness
Operation: Trunk - Power Button; Frunk: Automatic
Colour Temperature: 5000K
| Light Source |
LEDs |
| Power Source |
Trunk: 12V Socket
Frunk: Y Harness |
| Operation |
Trunk: Power Button
Frunk: Automatic |
| Color Temperature |
5000K |
How to Install Trunk and Frunk LED Strip on Tesla Model 3 / Model Y:
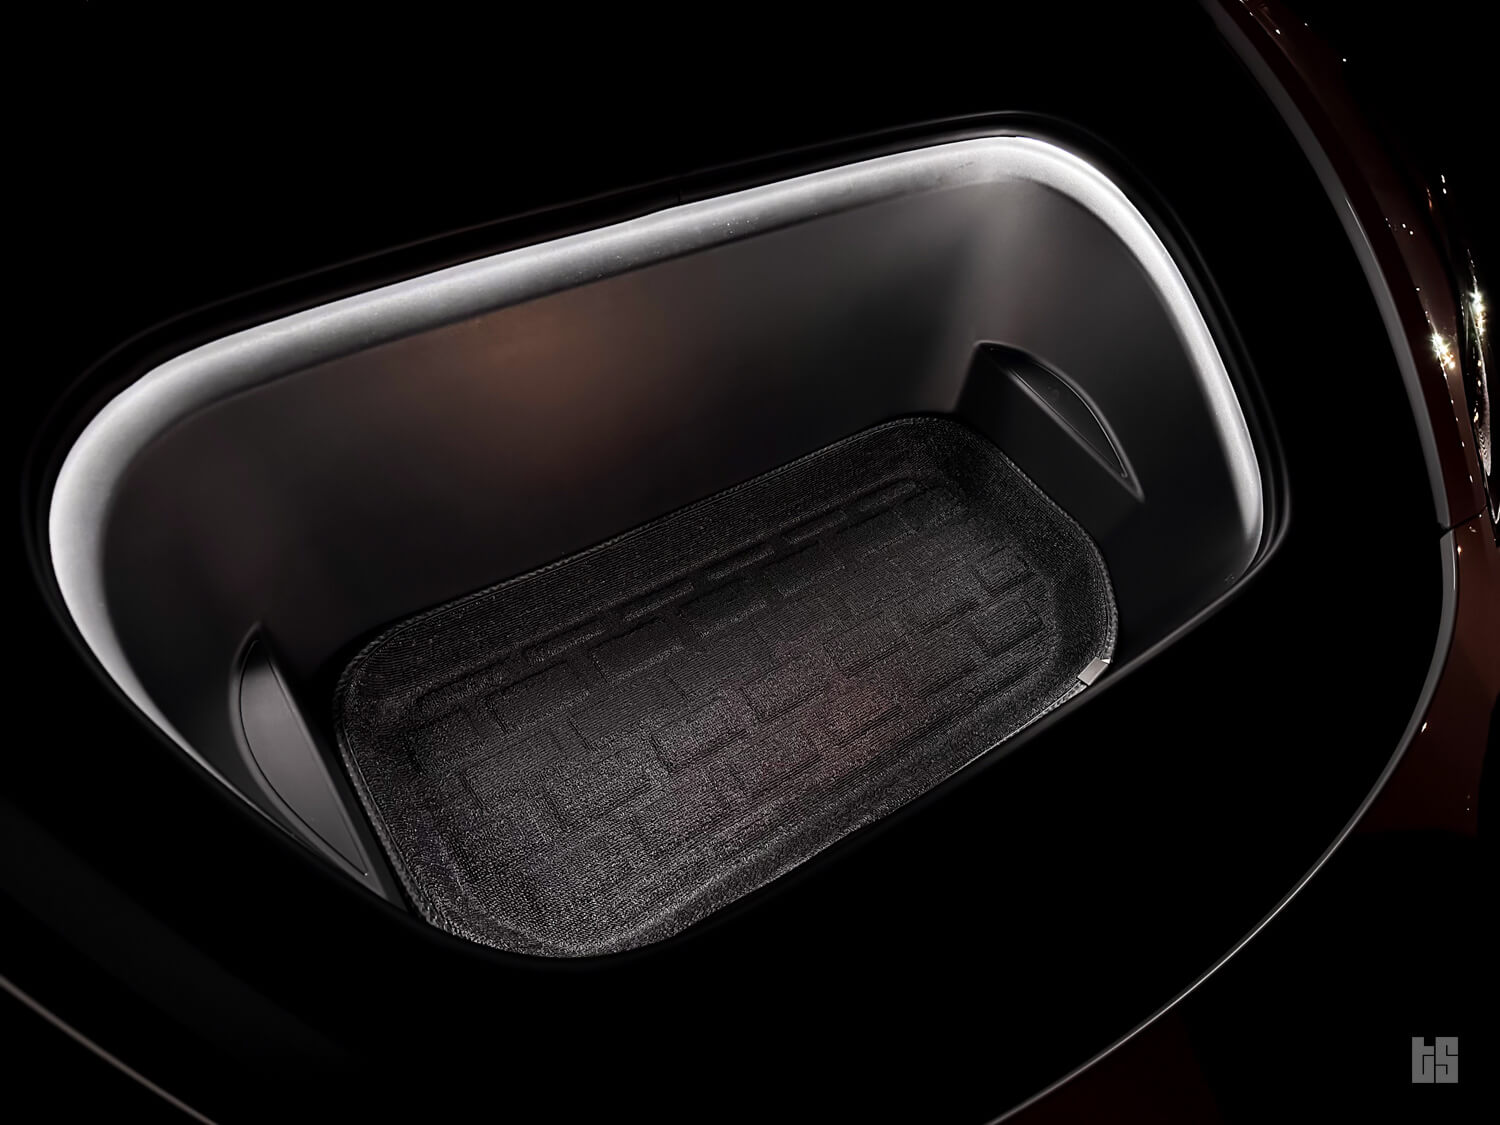
1) Adding the Frunk LED Strip
Step 1: Start by prying open the frunk panel. There are no screws; simply pull it outwards.
Step 2: Unplug the harness. You may use the provided screw driver to press down on the lock tab.
Step 3: Using the provided Y connector/harness, interconnect the cables.
Optional: You may also connect the grounding cable as per the provided paper instructions included in the package if the latch doesn't work.
Step 4: Tuck the LED strip under the rubber seal all along the perimeter of the frunk.
Step 5: Disconnect the power and trim the excessive length along any of the black dots.
Step 6: Close the frunk panel. Slide the bottom of the panel into the grooves and press down on the top.
2) Adding the Trunk LED Strip
Step 1: Plug the 12V connector into the rear socket and connect it to the LED strip. Press on the red button to turn ON/OFF.
Step 2: Tuck the LED strip under the rubber seal along the entire perimeter of the trunk.
Step 3: Disconnect the power and trim the excessive length along any of the black dots.
Step 4: Turn it back ON to confirm the installation.


-thumb.jpg "01 (1).jpg")